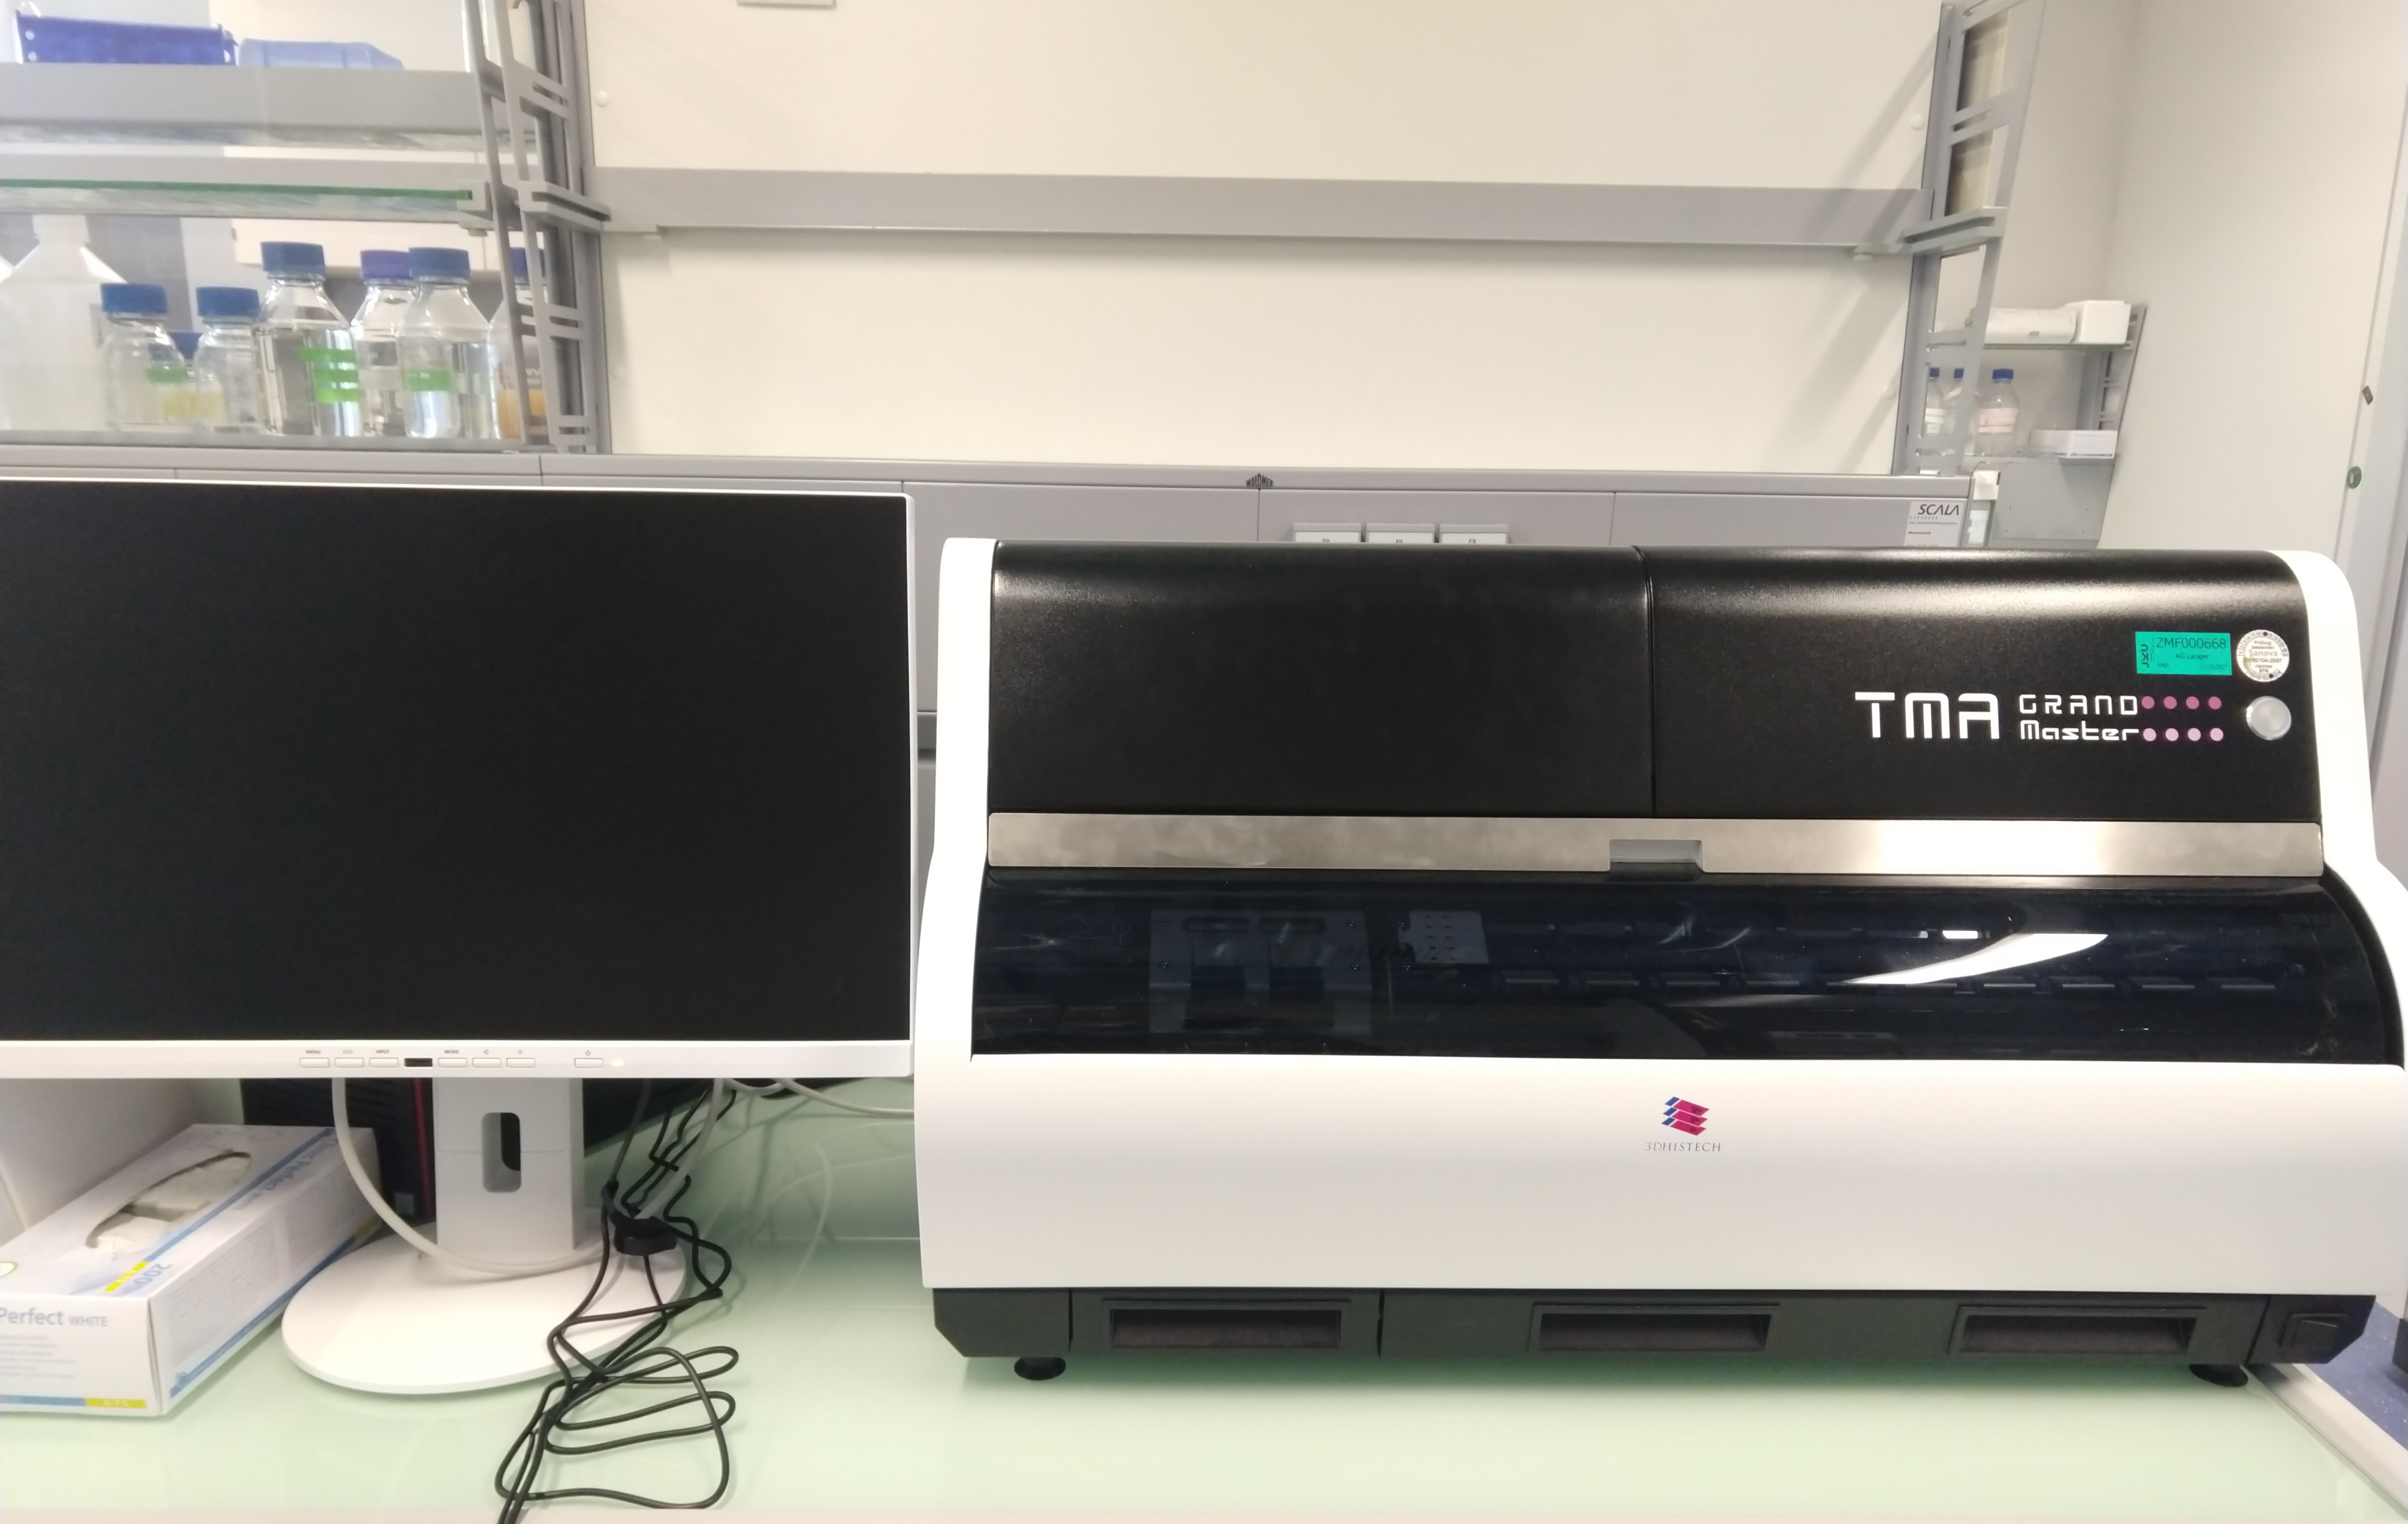
Quick Start Guide TMA Grand Master
Principle
With the TMA Grand Master, TMA blocks can be easily and quickly prepared from tissue cores of 0.6, 1, 1.5 and 2 mm diameter. Optionally, the device can also extract tissue samples into standard 0.2 ml PCR tubes.
Two ways of working are possible:
- Insert all (max. 60) donor blocks, mark the puncture positions and then run the machine. OR
- Insert the donor blocks continuously into the trays (10 blocks per tray) and mark the puncture positions. This way, while the unit is processing the selected blocks, more donor blocks can be inserted and drilling positions marked.
Important:
As the door of the TMAer can be opened during the procedure to insert new donor blocks, be careful NEVER to remove a recipient block in this way (even if it is finished), as only donor block operations are monitored by the software.
Specifications
The dimensions of the plastic cassettes suitable for the TMA Grand Master are as follows:
- 29 mm (W) x 41 mm (H) x 6 mm (D).
The paraffin blocks can have the following dimensions: - 24 mm (W) x 37 mm (H) x 7.5 mm (D - from the top of the cassette).
| Paraffin Block Size (mm) | Drill Hole Ø (mm) | Max. Number of Drill Holes | Drill Colour |
|---|---|---|---|
| 37×24 | 0.6 | 16×31 = 558 | N/A |
| 1.0 | 13×22 = 286 | black | |
| 1.5 | 9×15 = 135 | magenta | |
| 2.0 | 7×12 = 84 | blue |
In case TMAs are to be created for further usage with the Akoya Phenocycler Fusion system the maximal imageable area (35 x 15 mm) results in the following TMA dimensions.
| Drill Hole Ø (mm) | Max. Columns | Max. Rows | Max. Cores |
|---|---|---|---|
| 0.6 | 8 | 26 | 192 |
| 1.0 | 6 | 19 | 114 |
| 1.5 | 5 | 14 | 70 |
| 2.0 | 3 | 11 | 33 |
General
There are two programmes that are used:
- TMA Control Software (the software that controls the unit)
- TMA Register Software (TMA data export, search in TMA database, ... ).
The donor block should not be too flat, as the adhesion between the punch and the punched material could then be too low and the material could be lost.
Each project is limited to one diameter. If another diameter is to be selected, the current project must be closed first.
If the button on the machine is green, it can be used to open the machine. If it is red, the unit will not open.
Commissioning
First steps
- Flip the toggle switch on the back of the unit, then the toggle switch on the front of the unit.
- Start the TMA Control software after switching on the unit.
The software always starts with the last edited project, unless it has been closed. - If no project is open → create project.
- To load the unit with donor and/or receiver blocks, open the flap by pressing the green button. Press the blue/silver levers down and insert the blocks with the bevelled side up first.
- If you want to create several identical receiver blocks with the same donor material, you can create a "clone group" with the two blocks. To do this, right-click on the layout symbol in the bottom right corner of the recipient block overview and assign the same group.
- To the right of the picture of the recipient block >> Create layout, then save layout.
Icon with "dots" above >> to select/browse layout. - Each block needs an ID, this is either loaded from the barcode or entered manually.
- To position a core, click on a point in the overlay layout, then the mouse pointer becomes a circle. This circle can then be placed on the block.
- Once a core has been positioned, the unit can begin to work.
New cores can be defined and added continuously during operation. - finally, a new image of the TMA is taken (if not automatically: "Refresh " to take a new image).
Change tool
Change drill
- If a project is open, close it.
- Click on the tool symbol at the top of the software.
- A pop-up appears in which the process is explained.
- Open the flap with the green button.
- Lift the left flap upwards (like the bonnet).
- Loosen the set screw.
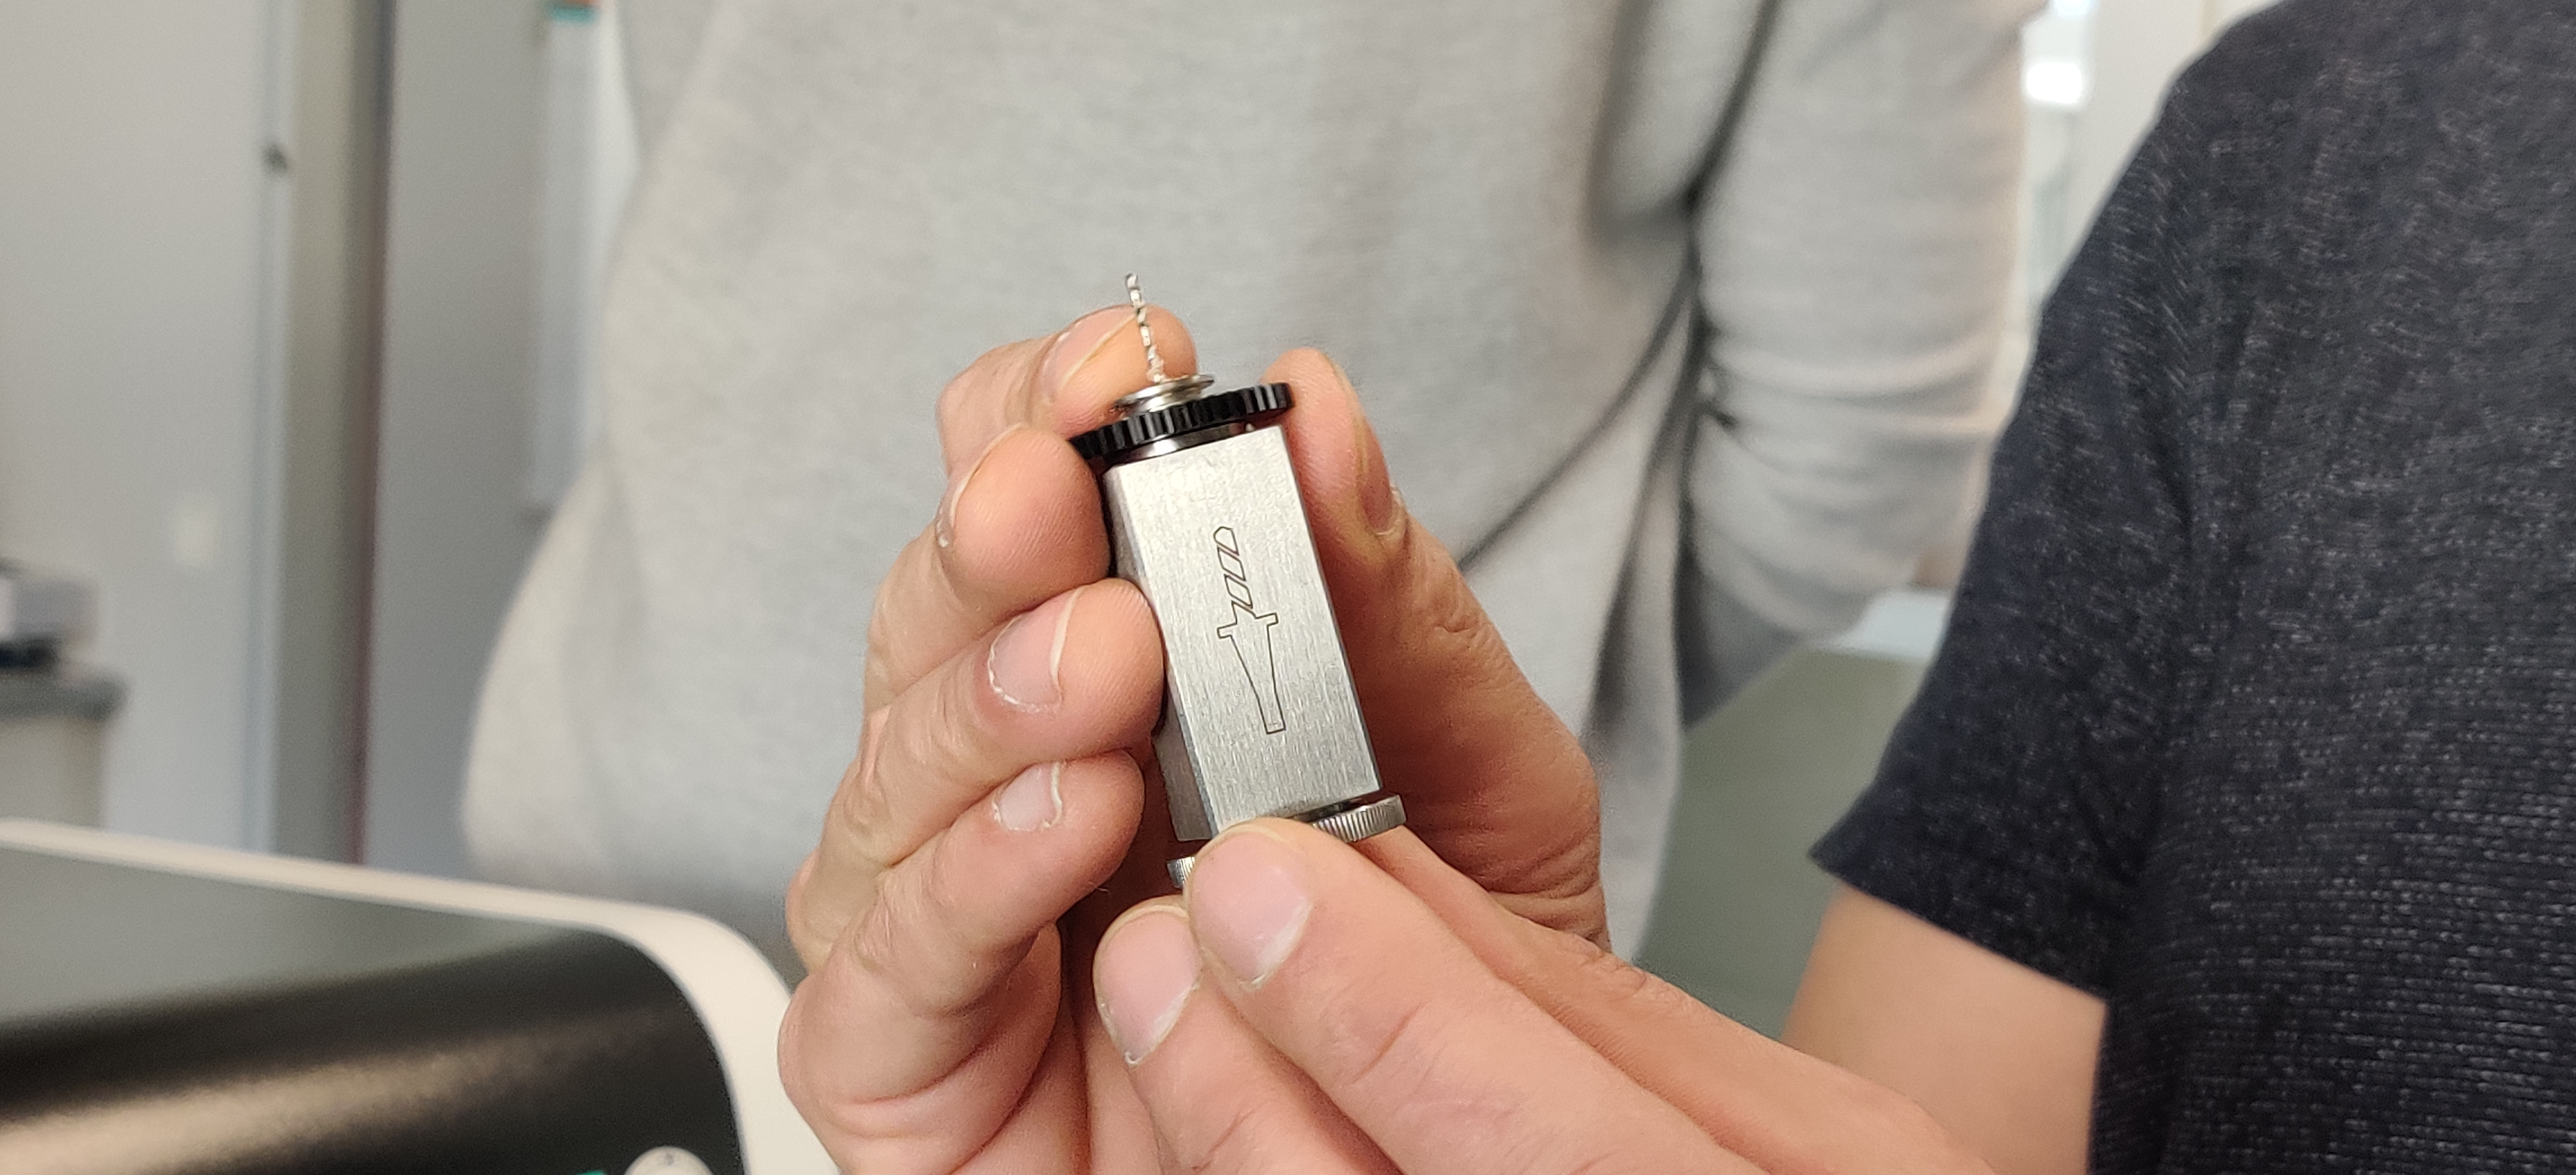
- Remove the block with the tool on it (during the next steps, always make sure that the tool is held upright so that the loosened drill head never falls to the floor).
- Hold block with thumb and middle finger, press index finger on base of drill (be careful not to bend drill) and loosen screw at bottom.
- Remove the drill chuck and insert a new one.
- Hold again with index finger and tighten screw at the bottom.
- Reinsert the block.
- Tighten the set screw (lever).
- Check that the gears run smoothly.
Change punch
1-7. see above
- make sure that the plug (piston) that is inserted from below does not fall out when you open the lower screw.
- pull out the piston and remove the punch chuck.
- first insert the new piston from below, then carefully thread in the punching chuck from above.
- reinsert the block.
- tighten the adjusting screw (lever).
- check the smooth running of the gears.
Logbook entries
Please record each use in the form provided.
Cleaning
Cleaning the tools
By heat or wax remover (to be defined)
Maintenance
Contact
The unit is maintained by Sanova. In case of a problem please contact Sabina Köfler immediately.
Troubleshooting
Appendix
Help
The complete manual in English can be accessed directly via the software. In addition, video tutorials on the most important functions are available.